Define field division
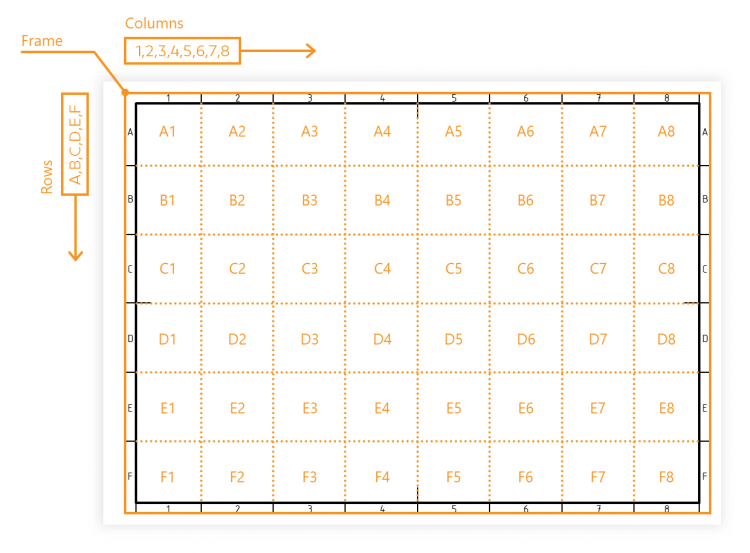
With this function, you can define the →field division. The position of every characteristic on the drawing sheet will then be assigned a value. Executing this function again will overwrite the old definition.

Workflow
| Step | Action | Result | |
|---|---|---|---|
| 1 | Call function | Click the Define field division button in the toolbar. ( | At the bottom left of the drawing window, the “Define new field division” dialog box opens. |
| 2 | Adjust division | Adjust the indicators for columns and rows. Letters and numbers (also multiple characters) are entered in the “Columns” and “Rows” fields, separated by commas. The order of these lists can be reversed ( Templates* Predefinitions of the field divisions for the formats DIN A0 to DIN A4 can be selected via button ( * – according to DIN EN ISO 5457:2010-12 Note Some functions are only available from program version 3.0.0. | The field division indicators are defined. |
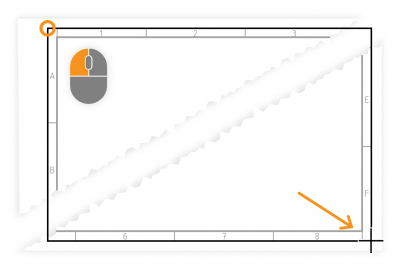
| 3 | Einteilungsrahmen markieren | Markieren Sie den Bereich, den der Feldeinteilungsrahmen einnimmt, indem Sie einen Rahmen aufziehen. | Der Feldeinteilungsrahmen ist markiert. |
| 4 | Confirm entries | Click the Define button in the Define Field Division dialog box to confirm the entries. | The field division is defined ( |
Customization
There are no setting options for directly influencing this function.